For years, I wore my nails in a square shape because I thought it looked “clean.” The problem? I have short, wide nail beds and relatively short fingers. The square shape made my hands look stubby and my fingers even shorter. I couldn’t figure out why my manicures never looked elegant—until a nail technician looked at my hands and said, “You’re wearing the wrong shape for your hands.”
She filed my squares into soft almonds, and suddenly my fingers looked longer, my hands looked leaner, and my manicure went from “fine” to “fabulous.” The shape didn’t just change how my nails looked—it changed how my whole hand looked.
Here’s everything I’ve learned about nail shapes, how to choose the right one for you, and how to create it at home.
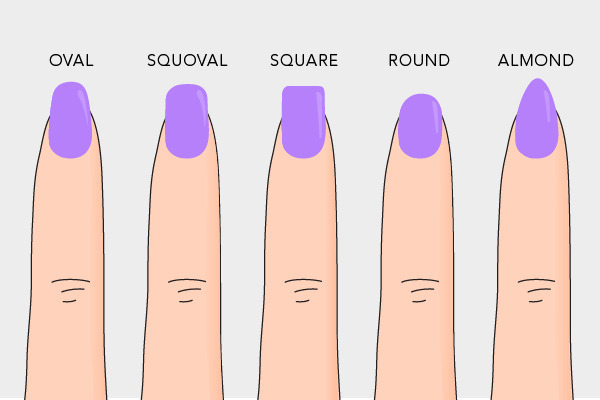
Common Nail Shapes: A Visual Guide
Let’s start with the basic shapes you’ll encounter:
Square
Straight across with sharp, 90-degree corners. No rounding at the edges.
Best for: Long, slender fingers and narrow nail beds. Square shapes emphasize length and look modern and strong.
Consider if: You prefer low-maintenance shapes (square tips are less prone to breaking than pointed shapes).
Squoval (Square Oval)
A hybrid—straight across like a square but with gently rounded corners. The most universally flattering shape.
Best for: Almost everyone. Squoval strengthens the square shape by removing sharp corners that catch and break.
Consider if: You want something classic, durable, and low-maintenance.
Round
Nails filed in a gentle curve following the natural fingertip shape.
Best for: Short nails, wide nail beds, or anyone who works with their hands. Round nails are the most durable shape because there are no corners to catch.
Consider if: You keep your nails short or struggle with breakage.
Oval
Nails filed into an elongated oval, narrower at the tip than the base.
Best for: Making short fingers look longer and wide nail beds appear narrower. Oval is elegant and classic.
Consider if: You want a feminine look but need more durability than almond.
Almond
Tapered sides that meet at a rounded point, like an almond nut. Narrower and more pointed than oval.
Best for: Lengthening short fingers and creating an elegant, sophisticated look. Almond is universally flattering and trendy.
Consider if: You have medium to long nail beds and want a dramatic but wearable shape.
Coffin/Ballerina
Long, tapered sides that end in a straight, flat tip. Like a coffin or a ballerina’s slipper.
Best for: Long nails. This shape requires significant length to achieve the tapered, flat-tip effect.
Consider if: You wear extensions or have very long natural nails and want a modern, edgy look.
Stiletto
Dramatically tapered sides that meet at a sharp point.
Best for: Very long nails. This is a high-drama shape that makes fingers look incredibly long.
Consider if: You want maximum impact and don’t mind the maintenance (pointed tips break easily).
How to Choose the Right Shape for Your Hands?
The goal isn’t to follow trends—it’s to find what makes your hands look their best.
Consider Your Finger Length
Short fingers: Choose oval, almond, or squoval shapes. These elongate the finger visually. Avoid square—it shortens already short fingers.
Long fingers: Almost any shape works, but square and coffin look particularly elegant on long, slender hands.
Consider Your Nail Bed
Wide nail beds: Round, oval, or almond narrow the appearance of the nail bed. Avoid square, which emphasizes width.
Narrow nail beds: Square and squoval balance narrow beds beautifully.
Consider Your Lifestyle
Working with your hands: Round or squoval are most durable. Stiletto and coffin will break.
Typing all day: Almond and oval clear keyboards better than square.
Low-maintenance preference: Squoval and round require less frequent shaping.
How to Shape Your Nails: Tools and Techniques
Once you’ve chosen your shape, creating it at home requires the right tools and technique.
Essential Tools
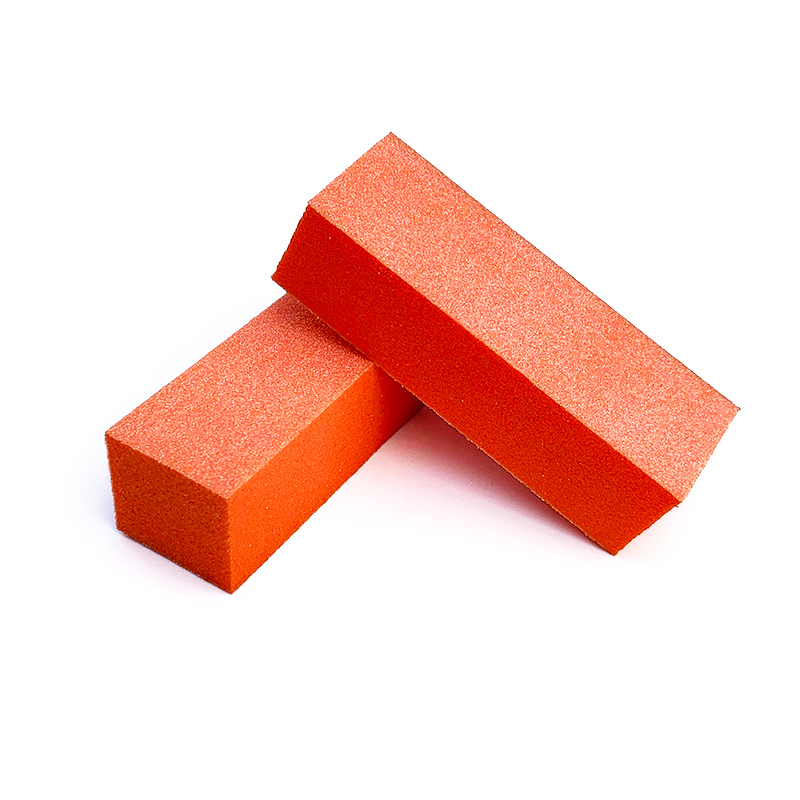
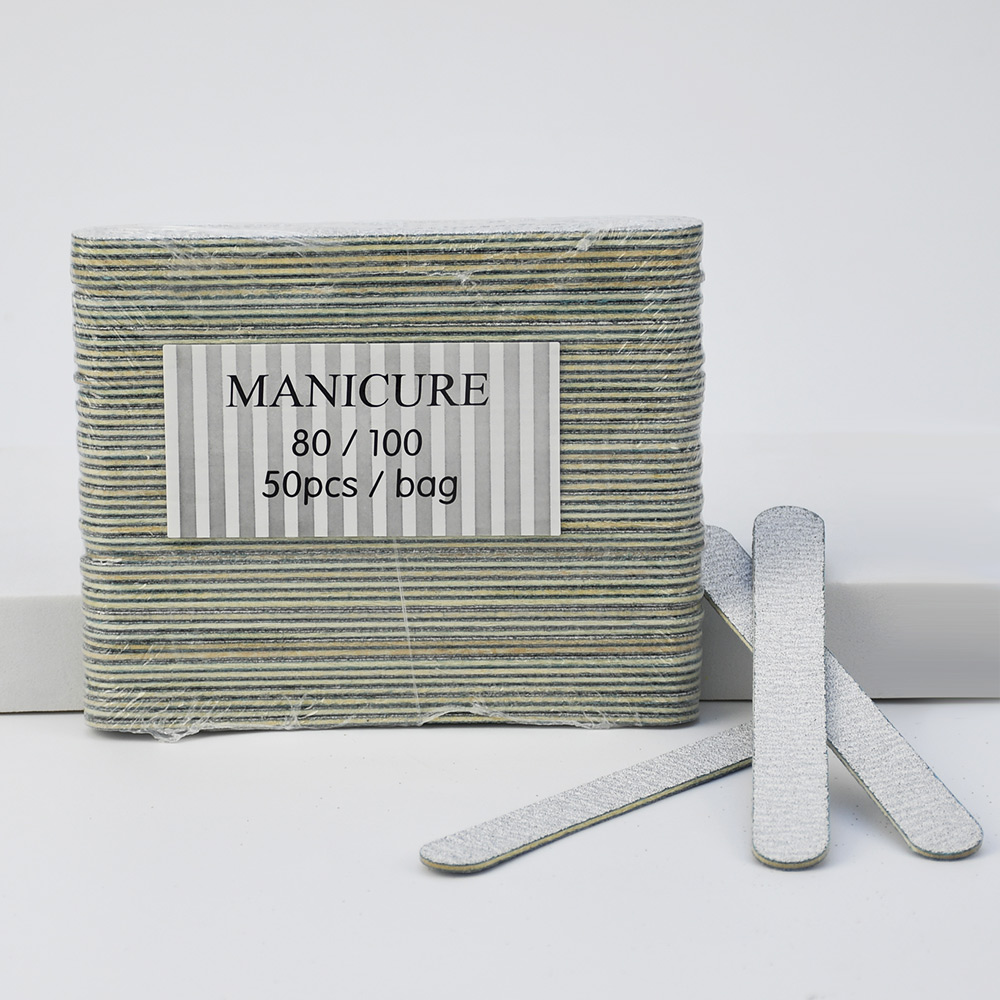
Nail file. Glass files are gentlest and last forever. For natural nails, 180-240 grit is ideal. For acrylics or gels, 100-180 grit works faster.
Nail buffer. For smoothing edges and surface after shaping.
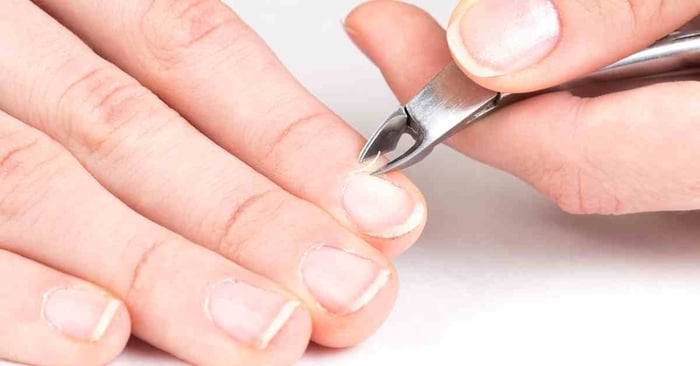
Cuticle pusher. Prep the nail bed before shaping.
Lint-free wipe and alcohol. Clean nails before filing (oil and dust interfere).
The Golden Rules of Filing
File dry nails only. Wet nails are soft and tear rather than filing cleanly.
File in one direction. Sawing back and forth creates micro-fissures that lead to peeling. Long strokes from edge to center only.
Work from the outside in. Start at the corners, file toward the center. Check your progress frequently.
Less is more. You can always remove more length. You can’t put it back.
Support the free edge. Hold the finger from underneath while filing to prevent bending and breakage.
Step-by-Step Shaping by Style
How to Create a Square Shape?
- File the tip straight across.
- File the sides straight down, perpendicular to the tip.
- Lightly smooth the corners—don’t round them, just remove sharp edges.
How to Create a Squoval Shape?
- File the tip straight across.
- File the sides straight.
- Gently round the corners in a soft curve, blending the side into the tip.
How to Create a Round Shape?
- File the tip straight across to your desired length.
- Round the corners completely, following the natural curve of your fingertip.
- The final shape should mirror your fingertip when viewed from above.
How to Create an Oval Shape?
- File the tip straight across to establish length.
- Starting at the corners, file toward the center in a gentle curve.
- The sides should taper slightly toward a rounded center tip.
How to Create an Almond Shape?
- Establish length first—almond requires longer nails.
- Pinpoint the center of your nail tip.
- File from each side toward that center point, creating sloping sides.
- Round the tip so it’s pointed but not sharp.
How to Create a Coffin/Ballerina Shape?
- Start with long almond shaping.
- Instead of rounding the tip, file it straight across to create a flat end.
- The sides should remain tapered, meeting the flat tip at clean angles.
Common Shaping Mistakes
Filing too aggressively. You’re refining, not sawing wood. Gentle strokes.
Skipping the final smooth. After shaping, run the file gently along edges to remove any rough spots. Rough edges catch and break.
Inconsistent lengths. All nails should match. Check visually and by feel—run your fingers over tips to spot discrepancies.
Shaping after moisturizing. Oily nails make the file slip. Shape before applying any oils or creams.
Ignoring the natural nail line. Work with your natural nail bed shape, not against it. Forcing a shape that doesn’t match your nail bed creates weak points.
Maintaining Your Shape
Once you’ve achieved your perfect shape, maintenance keeps it looking fresh:
File weekly. A quick touch-up prevents snags and maintains the silhouette.
Seal the edges. Apply top coat to the free edge after filing to prevent peeling.
Moisturize after filing. Filing creates dust and micro-abrasions. Cuticle oil and hand cream restore hydration.
Reassess with length changes. Shapes look different as nails grow. A square on short nails becomes a different proportion on long nails. Adjust accordingly.
The Bottom Line
The right nail shape transforms how your hands look. It’s not about following trends—it’s about finding what complements your fingers, suits your lifestyle, and makes you feel put-together.
With quality nail files and the right technique, you can achieve salon-perfect shapes at home. Start with a shape that matches your nail length and hand structure. Refine slowly. Check your progress.
Your nails are the jewelry you wear every day. Give them the shape they deserve.
Read also: The Essential Guide to Nail Cuticles
Related Posts